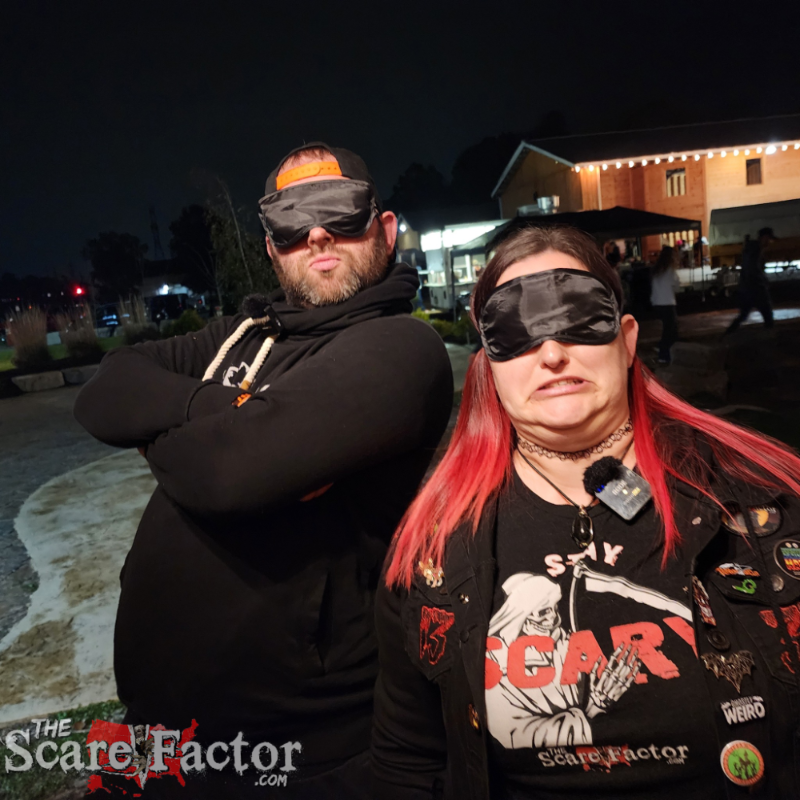
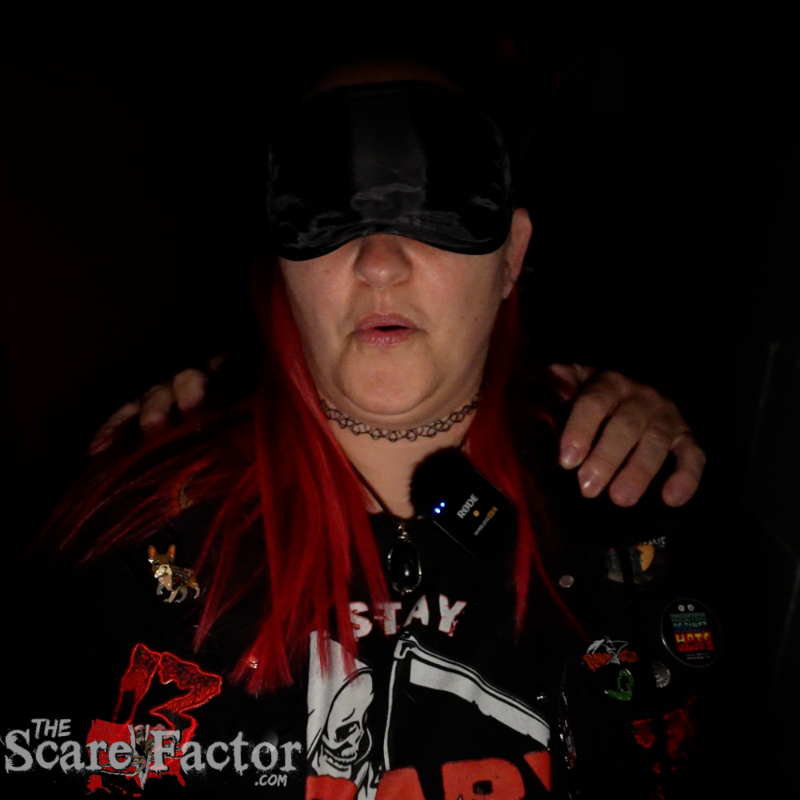
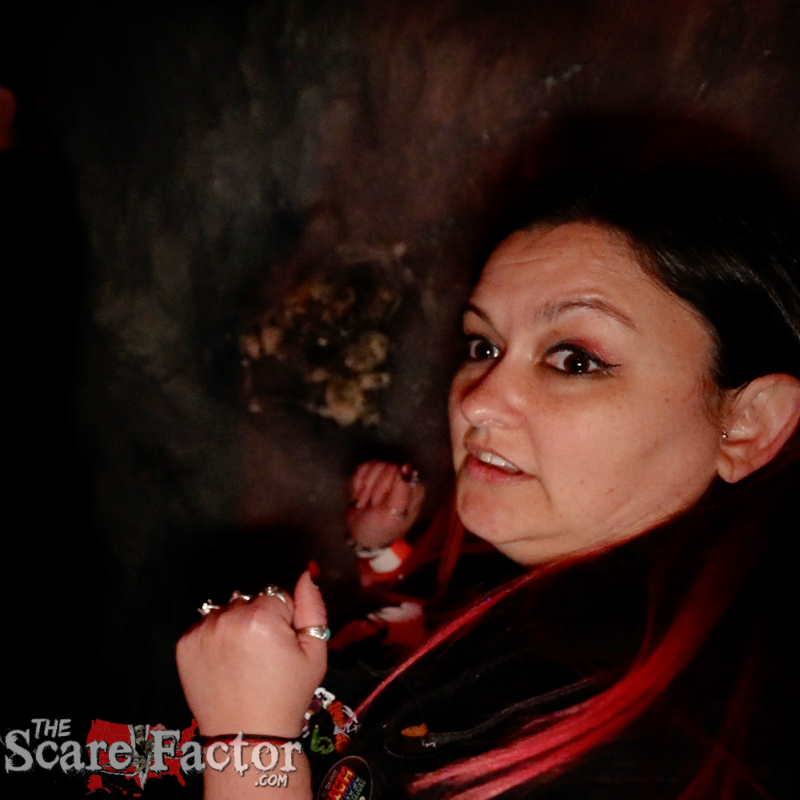
Inside Taken, sensory overload hit us right from the start. Blindfolded and disoriented, we were forced to rely on touch; feeling our way along the walls was our only means of survival. The textures shifted constantly, from smooth to rough and even furry in places, keeping us on edge as we tried to guess what we were moving through.
Once our sight was restored, the experience evolved. We stumbled into a rickety elevator that sent us “plummeting” downward before dropping us into a glowing blacklight labyrinth. Here, the atmosphere transformed into a chaotic splash of color and shadow, complete with eerie props, neon-lined doorways, and a few strategically placed coffins that added to the uneasy vibe. The combination of neon and non-neon sets was a bit jarring. Because there’s already a lot of neon in the clown attraction, we’d love to see more of a dark, graveyard, or catacombs vibe erupt in this one.
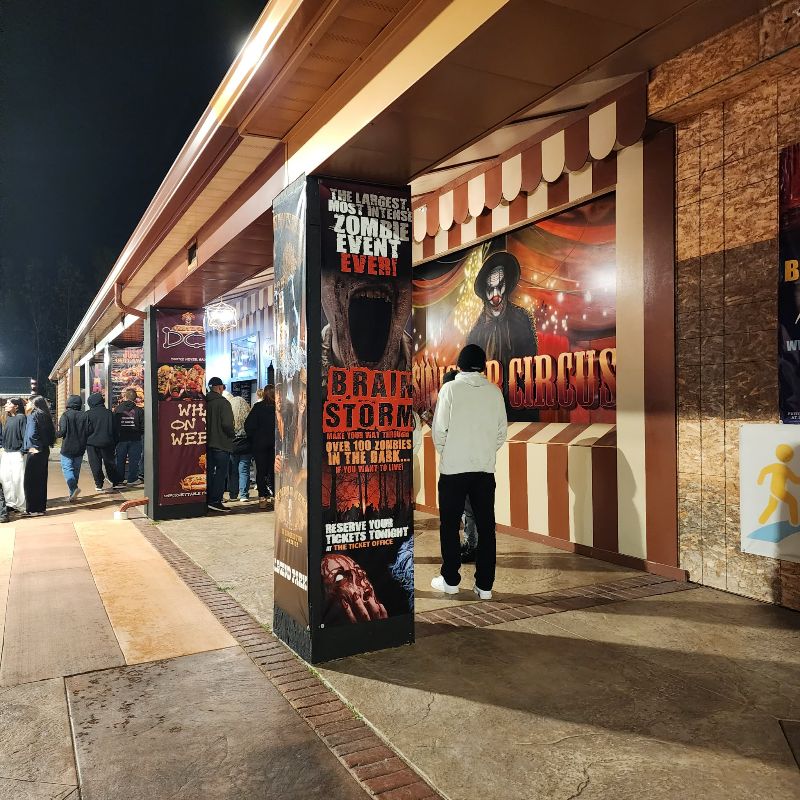
The effects inside Sinister Circus were both fun and effective, delivering a full dose of sensory chaos from start to finish. In addition to the eye-catching neon artwork coating the walls, this haunt packed in a variety of tactile and visual surprises.
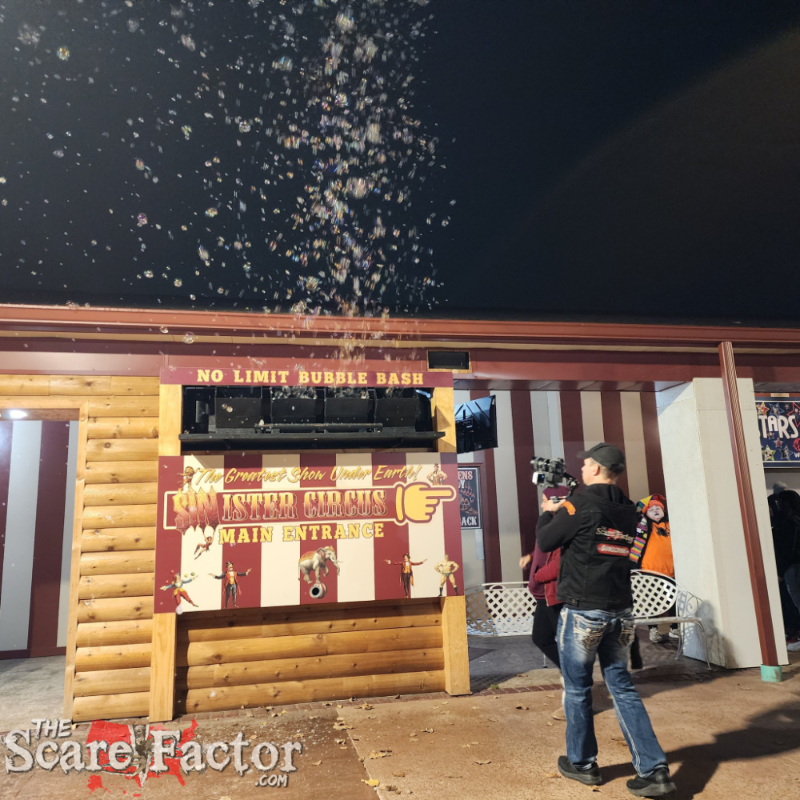
Bubbles drifted through the air as we stumbled across uneven floors, squeezed through tight passages, and got lost in a mirror maze that was far more deceptive than it first appeared. A disorienting vortex tunnel spun our balance out of control, while grated walkways and an “endless pit” illusion kept us second-guessing every step. Add in a room full of blinking dots and an infinity box that warped our sense of space, and Sinister Circus proved to be a trippy, high-energy playground for the senses.
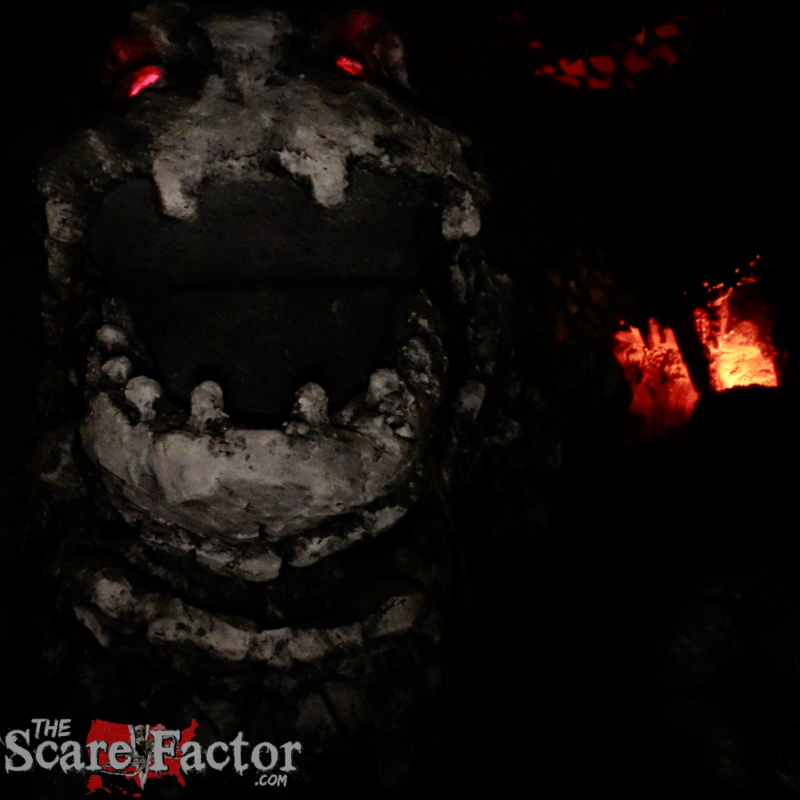
Rock Monkey Caves leaned heavily on realism, and it paid off. As we made our way through the dark, narrow corridors surrounded by rugged, cave-like walls, it truly felt like we were deep underground. Skulls lined the passageways as if they’d been there for centuries, while a massive red-illuminated skull loomed ahead, casting an eerie glow. A rickety rope bridge swayed underfoot, and glowing eyes peered down from the ceiling, giving the impression that we were never truly alone.
Ambient sounds of dripping water and distant animals echoed through the caverns, guiding our path and amplifying the sense of depth. And yes, the legend is true! We finally came face-to-face with the enormous red-eyed monkey everyone’s been whispering about. It’s real, and it’s terrifying.
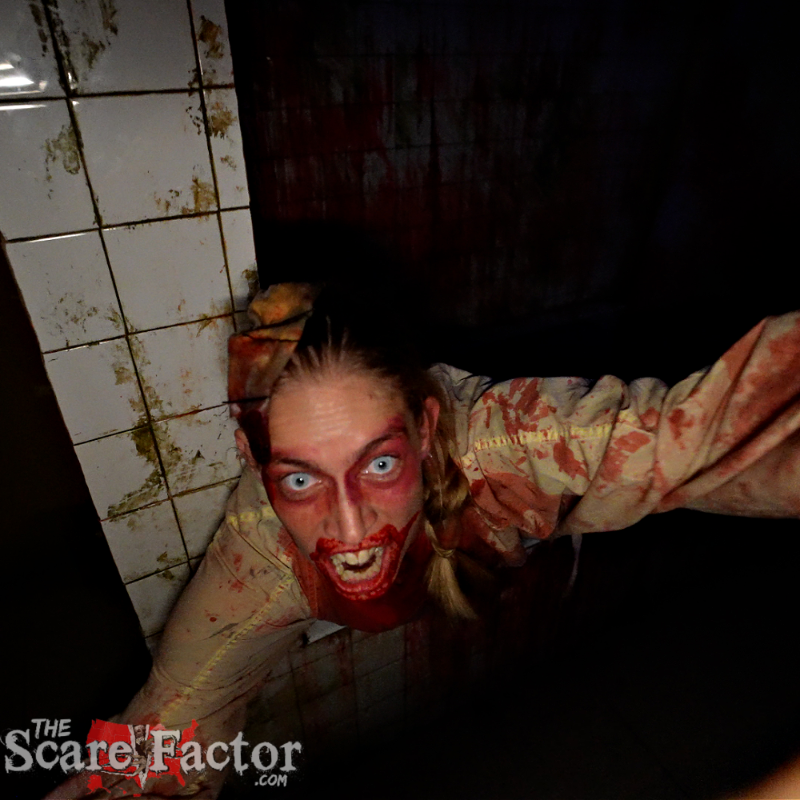
Ward 13 oozed authenticity from the moment we stepped inside. We learned that many of the props, equipment, and even some of the doors were salvaged from real asylums and hospitals over time, and it showed. Each room was thoughtfully detailed: a grimy bathroom, a convincingly padded cell, and what might’ve been the most gruesome blood-soaked room we’ve seen all season!
Lighting was used effectively to enhance the sense of dread, flickering just enough to make us question what we were seeing. The sound design sealed the immersion, intercom pages calling for “Nurse Hatchet,” vintage music echoing through the halls, “Code Blue” announcements, thunder crackling outside the windows, and disembodied whispers that made the walls feel alive.
We also loved the clever twist with the patient registration room at both the beginning and end – it messed with our heads in the best possible way, and we’ll just say this: pay attention when you walk in… and when you walk out. A flickering vintage TV, towers of patient records, and the overall sense of institutional decay made Ward 13 the most convincingly detailed haunt at Fear Itself.
See Less